How to Rehydrate Dried Snow Fungus (So It's Silky, Not Rubbery)

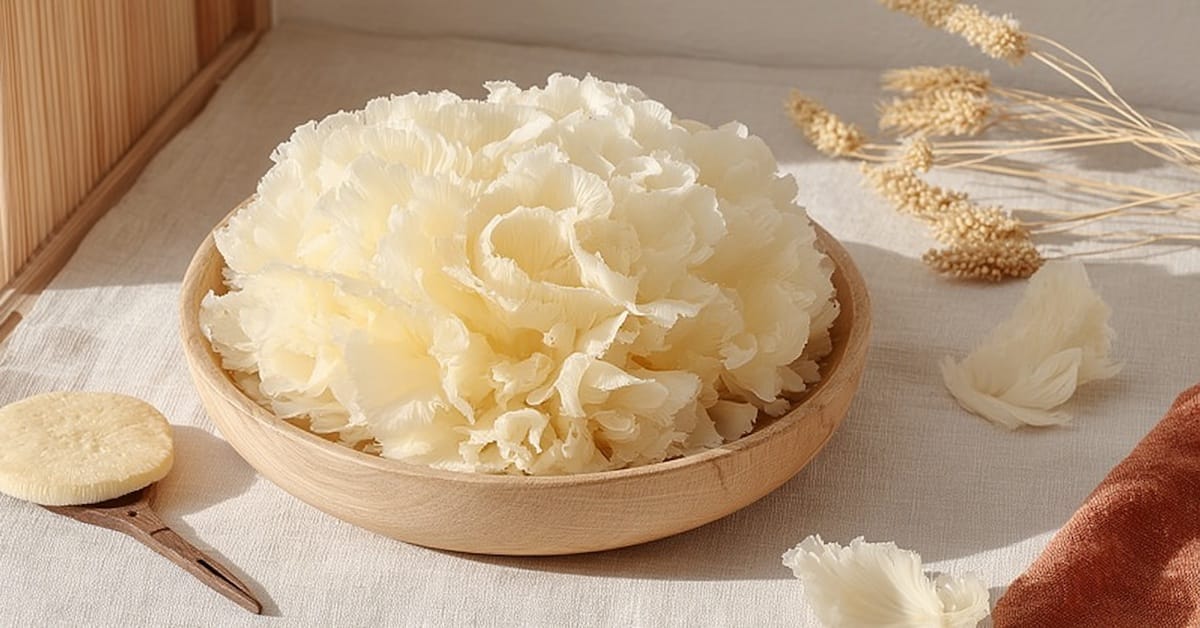
Dried snow fungus (银耳) comes as a hard, pale, crinkled disc that looks a little like a dried sponge or a piece of coral — and if you drop it straight into a pot, you'll be disappointed. The secret to that silky, gently gelatinous texture everyone loves in snow fungus soup isn't in the cooking at all. It's in the soaking, trimming, and tearing you do first.
It's genuinely easy once you know the steps, but almost every part of it trips up first-timers. Here's how to do it properly, and why each step matters.
I share a new recipe or ingredient guide every week — subscribe below to cook along.
Step 1: Soak it until it blooms
Put the whole dried snow fungus in a large bowl and cover it generously with cool or room-temperature water. It expands a lot as it rehydrates — often to several times its dry size — so give it plenty of room and plenty of water.
Let it soak for 20–30 minutes, until it opens up ("blooms") into a soft, ruffled, flower-like shape and there are no hard or crunchy bits left in the thick parts. If your kitchen is cold, or the fungus is on the larger side, it may want the full 30 minutes or a touch longer.
Cool water, not hot. It's tempting to rush it with boiling water, but hot water makes the outside go slippery while the inside stays firm, and it can dull the texture. A slower soak in cool water gives you a more even, silkier result. If you're short on time, lukewarm water is a reasonable middle ground — but don't use boiling.
Step 2: Cut off the hard yellow base (don't skip this)
This is the step most people miss, and it's the one that leaves you chewing on rubbery bits later. At the center of the bloomed fungus, where all the ruffles meet, there's a firm, compact, often yellowish core or "foot." This part never softens, no matter how long you cook it.
Once the fungus has bloomed, flip it over, find that dense center, and cut it away with kitchen scissors or a small knife. Discard it. You're keeping only the soft, ruffled petals.
Step 3: Tear it into small pieces
Don't cook it whole. Tear the softened fungus into small, bite-sized pieces with your fingers — roughly the size of a large coin or smaller.
Two reasons this matters: smaller pieces release their silky, slightly gelatinous quality into the soup much more readily (that's what thickens and enriches the liquid), and they're far nicer to eat than trying to spoon and bite through a whole cooked cluster. The smaller you tear it, the silkier and more cohesive your finished soup will be.
Step 4: Rinse and it's ready
Give the torn pieces a quick rinse under cool water to wash off any grit, and they're ready for the pot. From here, they'll want a slow simmer — around 40–60 minutes — to fully release that signature texture, but that's the cooking, and it's a different story.
Quick troubleshooting
- It's still crunchy after cooking. You almost certainly left the hard base in, or didn't soak long enough. Soak fully, and always remove that center core.
- It never got silky/gelatinous. Two usual causes: the pieces were too big (tear them smaller), or it simply needed a longer, gentler simmer. Snow fungus rewards patience.
- It turned slimy and slippery on the outside but stayed hard inside. Classic sign of soaking in water that was too hot. Use cool water and give it time.
- How much dry fungus do I need? A little goes a long way — one whole dried piece (about 15–20g) is plenty for a pot serving about four.
Put it to use
Now that you know how to prep it, the classic place to start is a chilled snow fungus soup with pear — silky, lightly sweet, and served cold. Snow fungus is one of the cornerstones of Chinese sweet soups, and it's on the Pantry page if you need to stock up.
New recipes and ingredient guides land here every week — subscribe below to cook along.